The sushi roll has been around for a very long time. These days, it is a popular (and healthier) option when choosing fast food. Western countries have adapted the sushi roll with various non-traditional fillings. These include crispy chicken fillings, brown rice, and the “California Roll”.
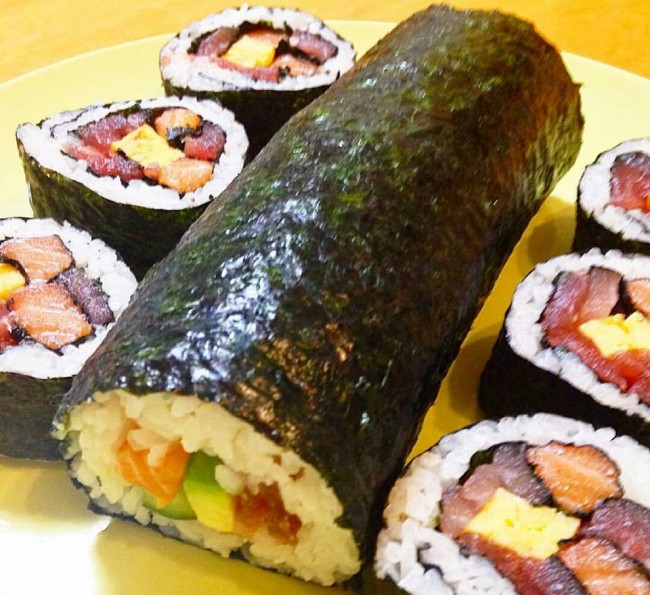
The recipe of the sushi roll was originally a way to preserve fish and other seafood inside of fermented rice. Therefore, a normal Japanese sushi roll is very different compared to western adaptations of this simple meal. Japanese food almost always features seafood as the main ingredient, and sushi is no exception to this. Squid, octopus, crab, eel and fish are almost always featured in these sushi rolls.
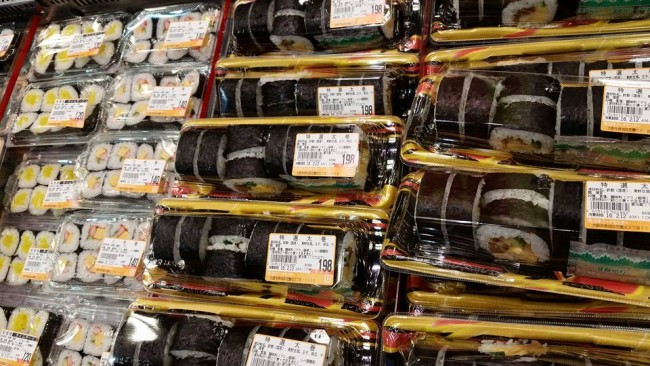
Japanese sushi rolls can be bought in any supermarket or convenience store in Japan. A supermarket sushi roll costs from 100yen to 500yen, according to how large or fancy they are. The key difference between Japanese rolled sushi and western rolled sushi, is the length. Japanese rolled sushi is always cut into bite-sized pieces, whereas western variations of the roll often come in about 2-3 inches long. Japanese sushi rolls often come in little plastic containers, alongside some soy sauce and wasabi.
Tip: Sushi and bento are available for a much cheaper price late at night from the supermarkets. Supermarkets are often open until very late. This is useful for late work nights or cheaper meals.
Simple, easy, Japanese sushi roll recipe:
*This recipe requires a sushi roll mat. These are available at most supermarkets in the foreign food aisle. Otherwise, use a sheet of baking paper atop of a thin piece of cardboard, like from a cereal box.
Ingredients:
3 cups of rice.
1 cup of sushi rice vinegar. (If you can’t find this, use any vinegar that isn’t too strong, such as apple cider vinegar or white vinegar).
1tsp of salt.
Sushi roll seaweed sheets (nori)
Filling:
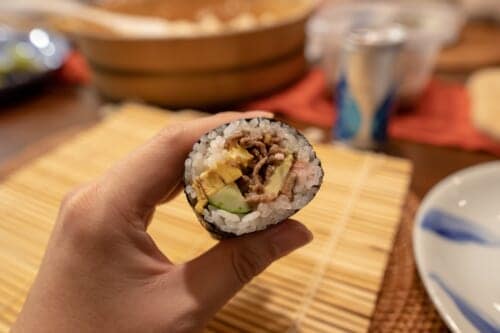
Cut the fillings into long, thin pieces.
Sashimi grade salmon or tuna.
Canned tuna mixed with Kewpie mayonnaise.
Cucumber.
Cheese.
Avocado.
Omelette.
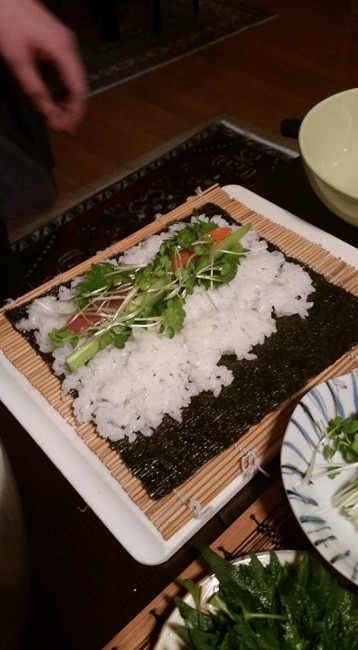
Be sure to leave some space at the edge of the seaweed.
Directions:
1. Rinse then cook the rice in a rice-cooker with about 4 ½ cups of water. A rice-cooker is much better to use than the stove because it will make the rice’s texture nice and sticky.
2. Once cooked, pour the vinegar over the rice and fold it through. Don’t stir, as this will ruin the lovely texture.
3. Place your seaweed sheet atop your sushi mat, shiny side facing down.
4. Once the rice is cool enough to handle, place an even layer just under 1cm thick over the seaweed, but not over the whole sheet. Leave one end of the seaweed about 2inches uncovered.
5. Place the fillings length-ways across your rectangle of rice. If inspiration strikes, get creative and make whatever combinations that come to mind.
6. Now for the tricky part! Lift the rice-covered edge of the sushi mat with your thumbs and begin to roll. Use your fingers to push your fillings into the rice while rolling, as this will keep the sushi roll neat and pretty. The aim is to touch the two edges of the rice together and prevent the fillings from squeezing out too close to the seaweed.
7. Wrap the remaining 2 inches of bare seaweed around your sushi roll. This will keep the sushi together in one tidy piece.
8. Place your roll atop a flat surface, with the bare piece of sushi underneath. This will help seal it together. Leave the roll for a minute or two before cutting.
9. Time to cut it! Use a big sharp knife and try to cut in one smooth motion. Do not saw it back and forth. The smooth motion will provide clean and pretty cuts. Pieces are generally cut about 2cm thick.
10. Arrange neatly and enjoy alongside some wasabi and soy sauce. It is traditional to serve this at room temperature, and fresh, but serve slightly chilled if you like.







No Comments yet!