Among the many types of noodles eaten in Japan, two are the most popular: soba noodles, with a slightly brown color and made from buckwheat flour, and udon noodles, thicker white noodles made with soft wheat flour. Within these two categories, there are plenty of variations, depending on the regions they come from. Three types of udon are famous in Japan for being the tastiest: Sanuki udon from Kagawa Prefecture, Mizusawa udon from Gunma Prefecture, and Inaniwa udon from Akita Prefecture. So, follow me on a trip to the Tohoku region of northern Japan, to the small city of Yuzawa, to learn about the art of manufacturing one of the three best udon in Japan: the Inaniwa udon.
- Inaniwa Udon: A 350-year-old recipe
- Learn How to Make Inaniwa Udon
- Eat Inaniwa Udon After Your Udon-making Workshop
- Getting to Sato Yosuke
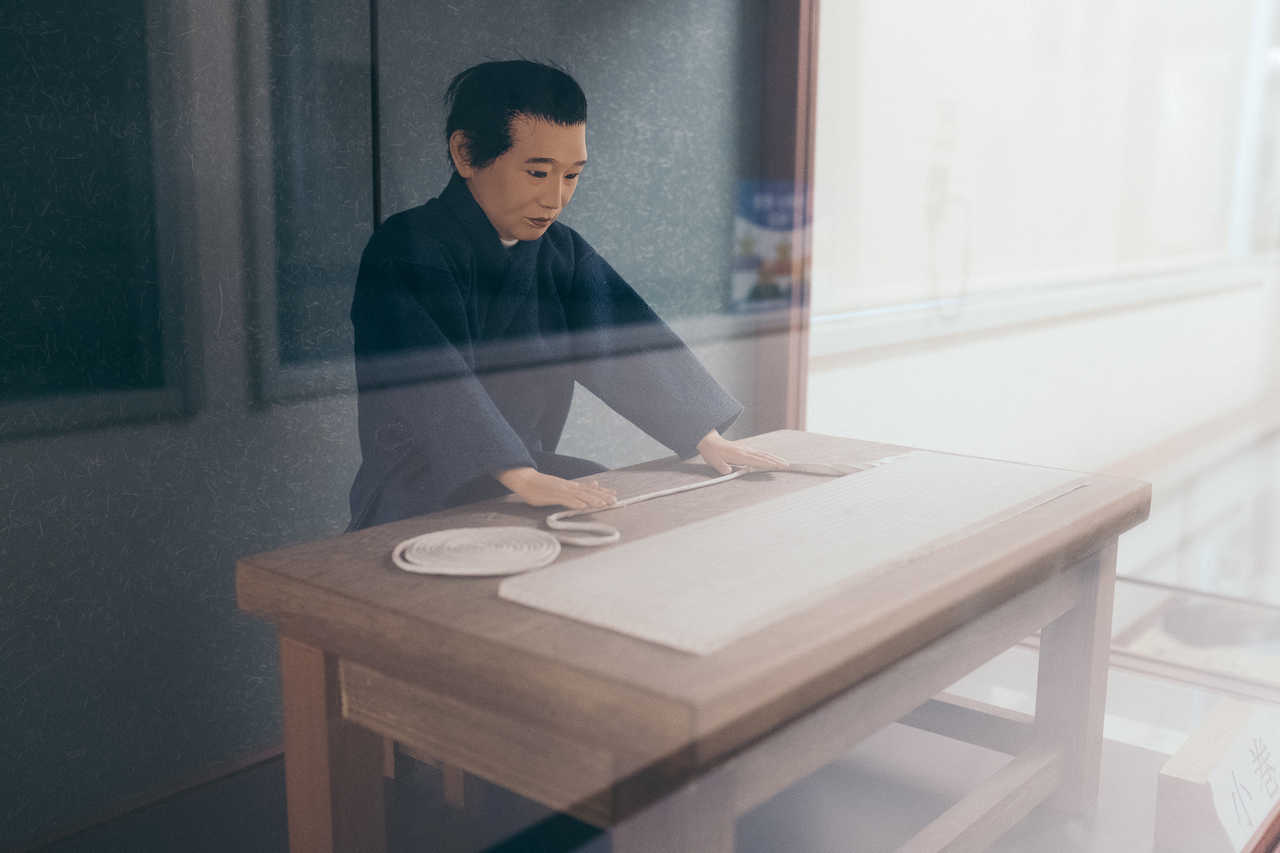
Inaniwa Udon: A 350-year-old recipe
The Inaniwa udon recipe dates back to 1665. Unlike most udon noodles found across Japan, Inaniwa udon noodles are very thin. They can be cooked very quickly while keeping the softness udon are known for. The recipe for this udon, enjoyed by lords during the Edo Era (江戸時代, Edo jidai), was passed down from generation to generation in Sato Yosuke’s family. In 1860, Sato Yosuke opened his shop where everyone, including commoners, could finally get a taste of his udon. Today, we still find Inaniwa udon in high-end izakaya all over Japan. In 2007, the Ministry of Agriculture registered the Inaniwa udon on the list of Japan’s 100 best regional dishes.
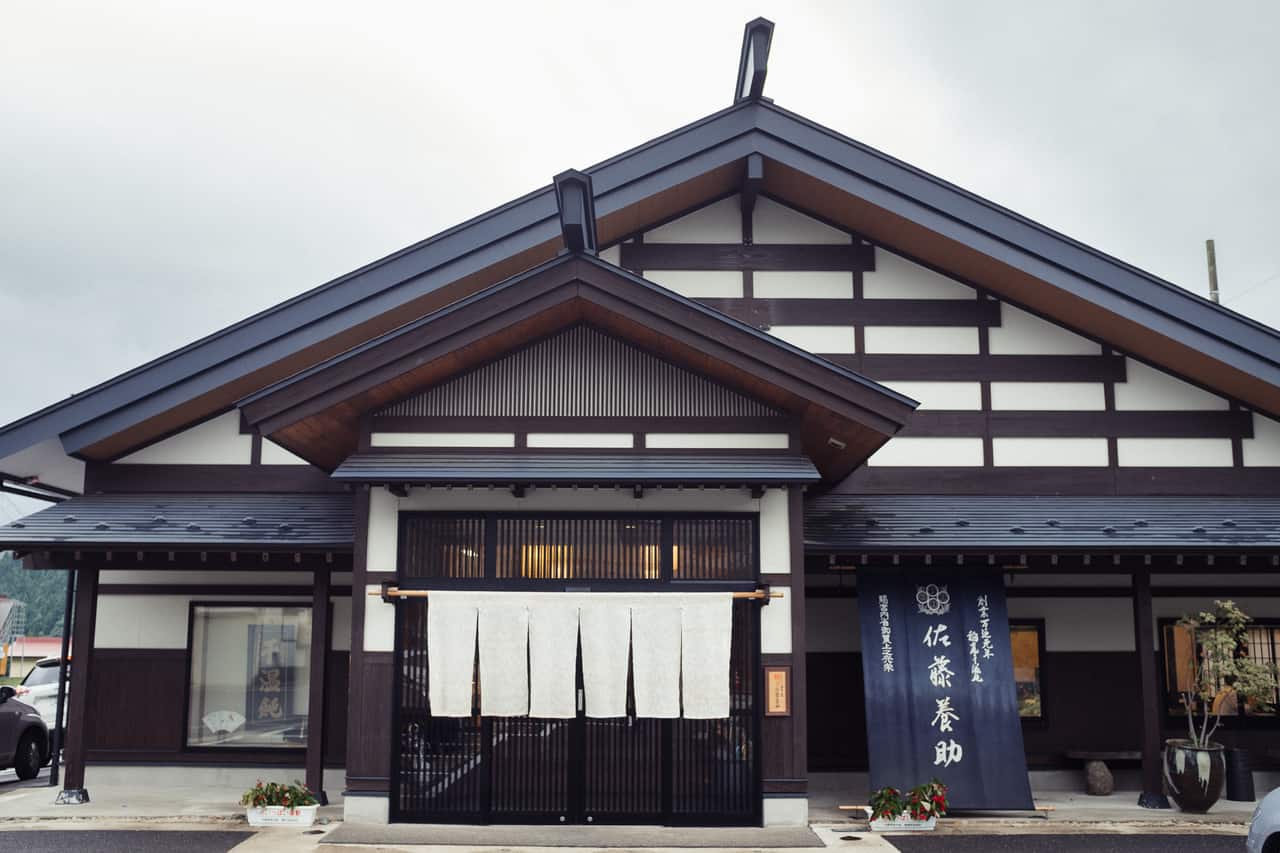
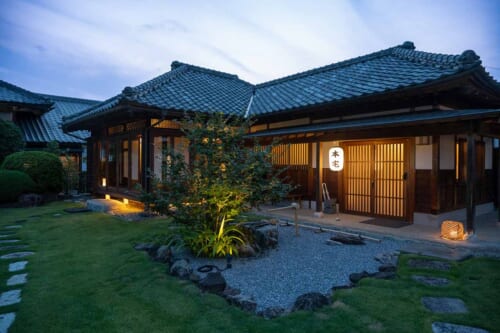
In the city of Yuzawa, Sato Yosuke’s shop now opens its doors to tourists, allowing them to taste the delicious Inaniwa udon in their restaurant and learn all about the production method of these very popular noodles.
Learn How to Make Inaniwa Udon
The making of Inaniwa udon spans over four days and follows three different steps. First, you have to prepare the dough from soft wheat flour. Next, you form the udon, giving them their unique shape and allowing them to dry. The Sato Yosuke shop (佐藤養助 総本店) offers workshops focused on the second step of the process – and the most interesting one to me. This is a great opportunity to discover and participate in the centuries-old process from which the Inaniwa udon get their distinctive shape.
With a hairnet on my head and an apron to cover my clothes, I am ready to become an udon apprentice for the next hour. My teacher briefly explained the entire Inaniwa udon creation process before we finally started.
Step One: Set Up Your Station
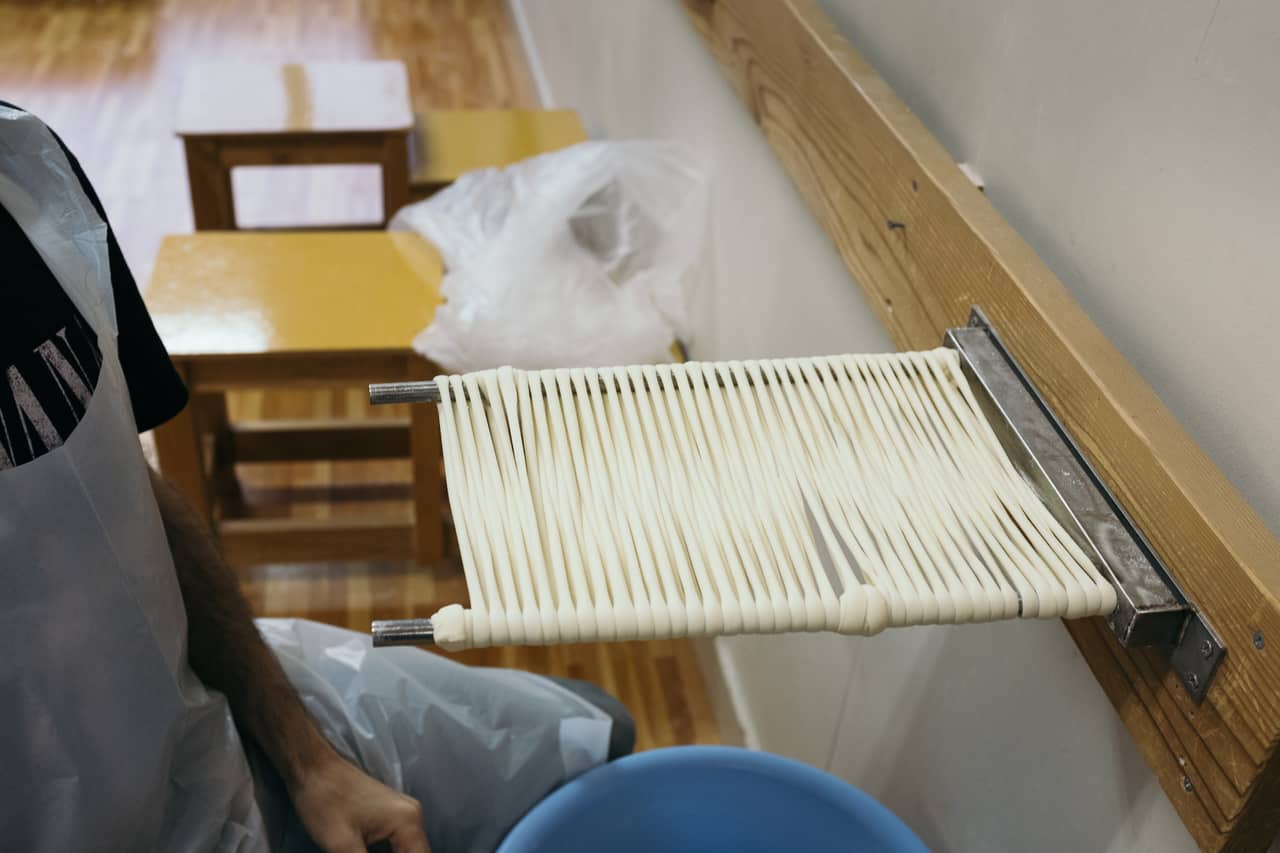
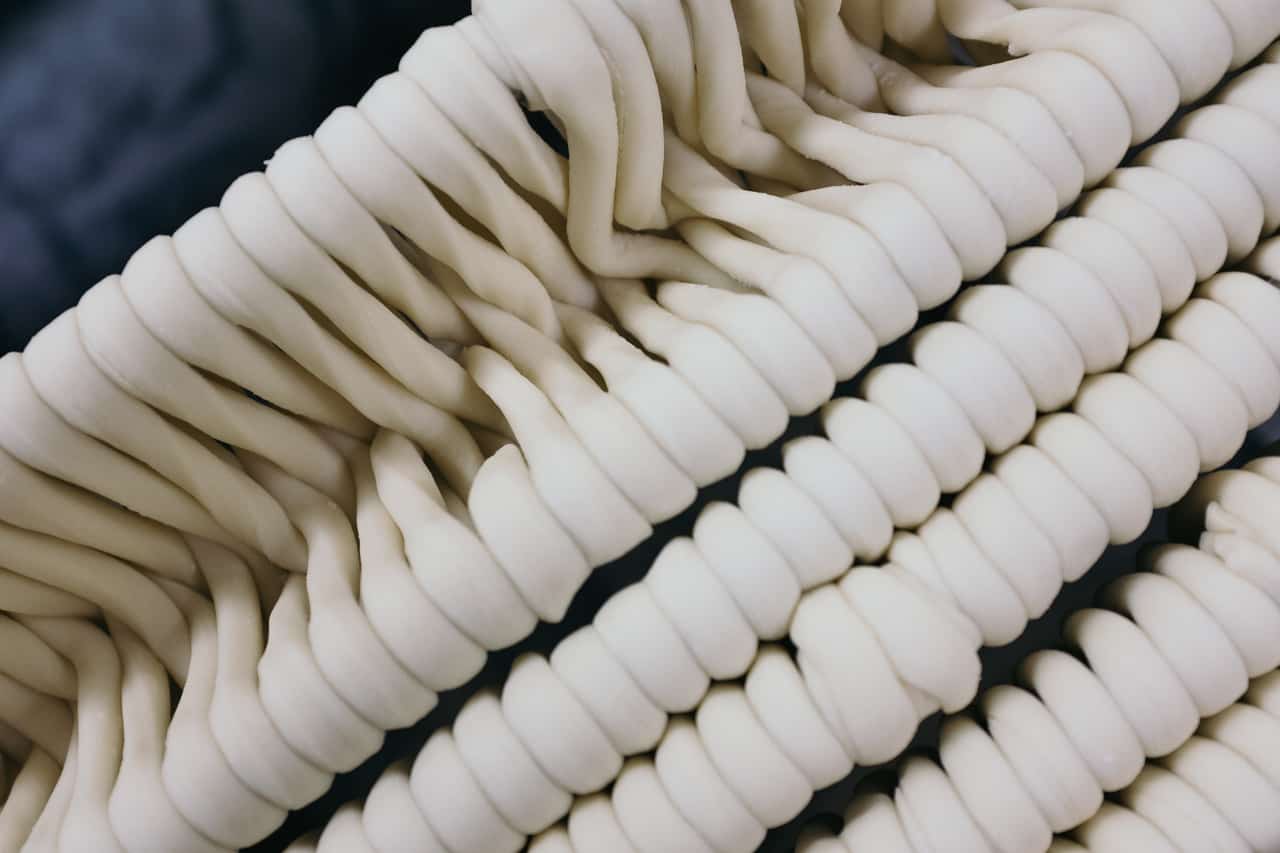
The dough had already been prepared the day before, coiled like a thick rope, and left to rest for an entire day. The first step consists of stretching the dough for the first time and carefully arranging it around two steel bars. This is a crucial step to master before moving on to the next phase.
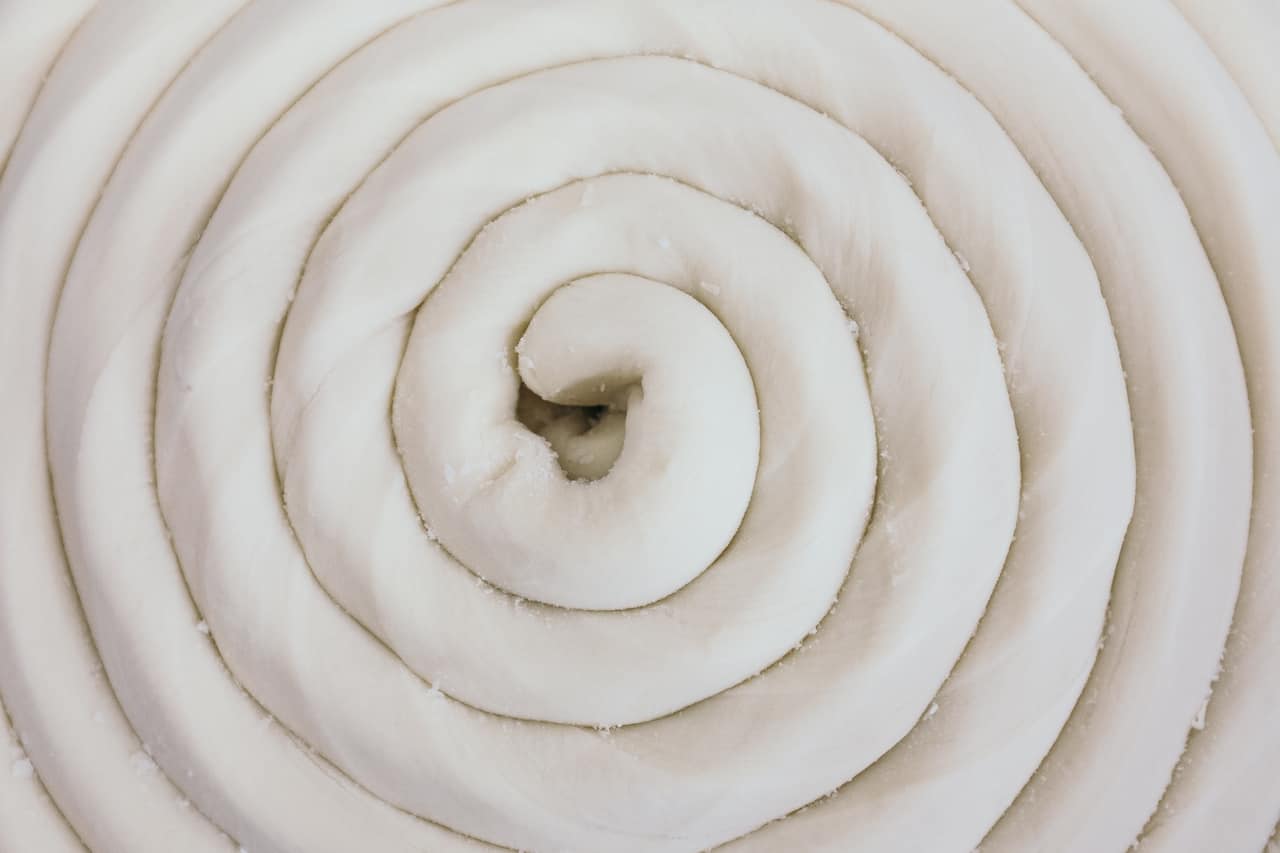
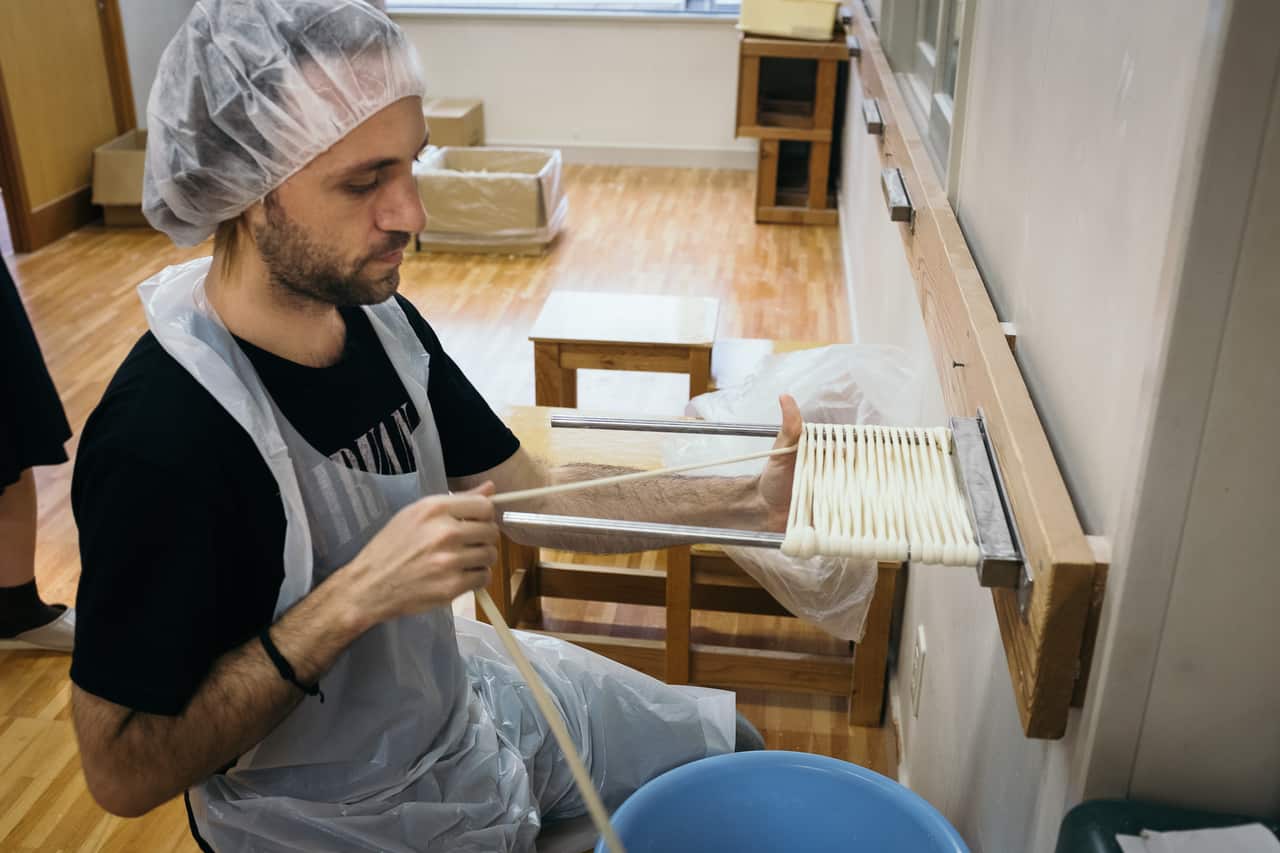
Nothing is left to chance here; every gesture is careful and precise, for the udon noodles must be wrapped around the bars without ever overlapping, which is crucial at this stage. I was able to practice three rounds of this process, just enough to start gaining confidence and allow my gestures to become more precise and fast-paced.
Step Two: Flatten the Udon
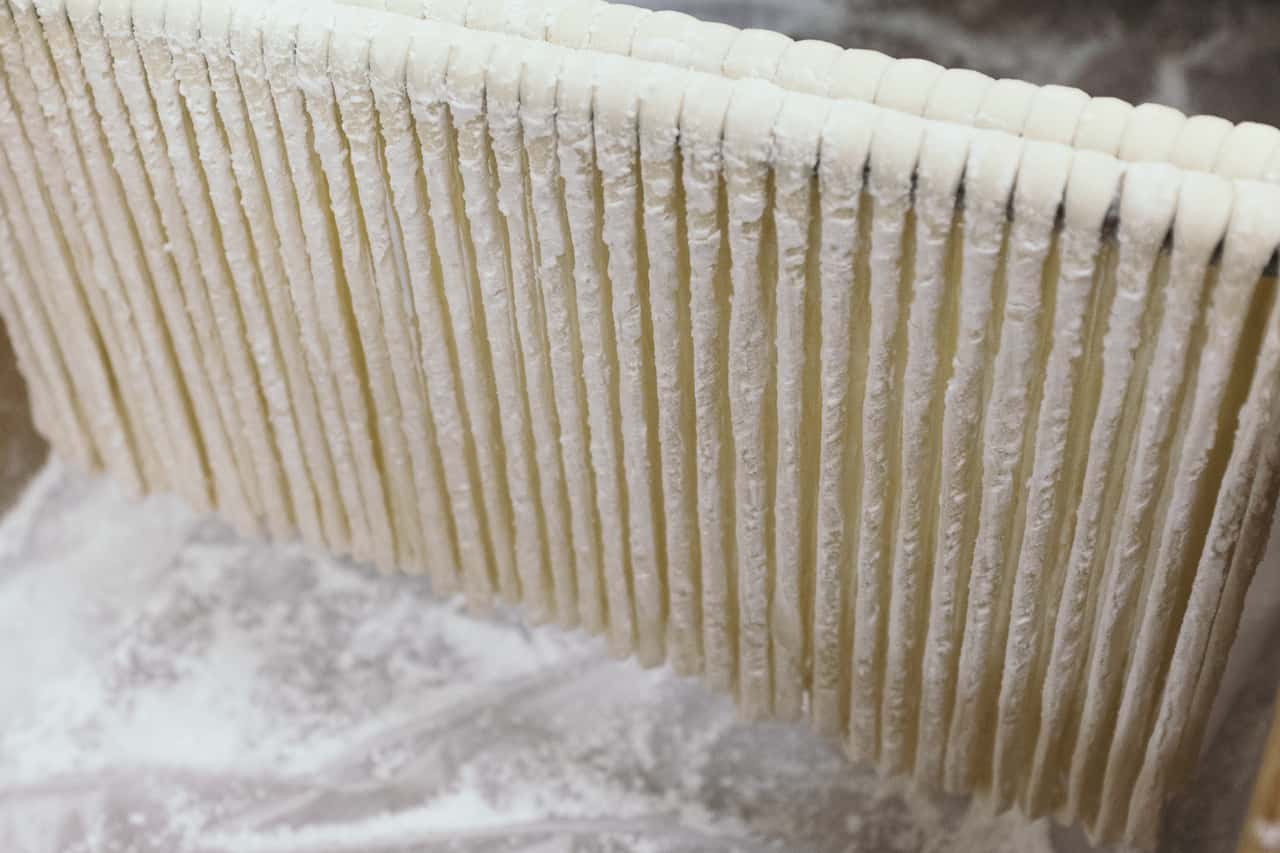
We can now move on to the next step: stretching the udon noodles and flattening them. We then place the steel bars around which the udon noodles are wrapped on a table equipped with hooks and verify that the noodles are well positioned, meaning no strands overlap. Now we use a rolling pin to roll the noodles flat.
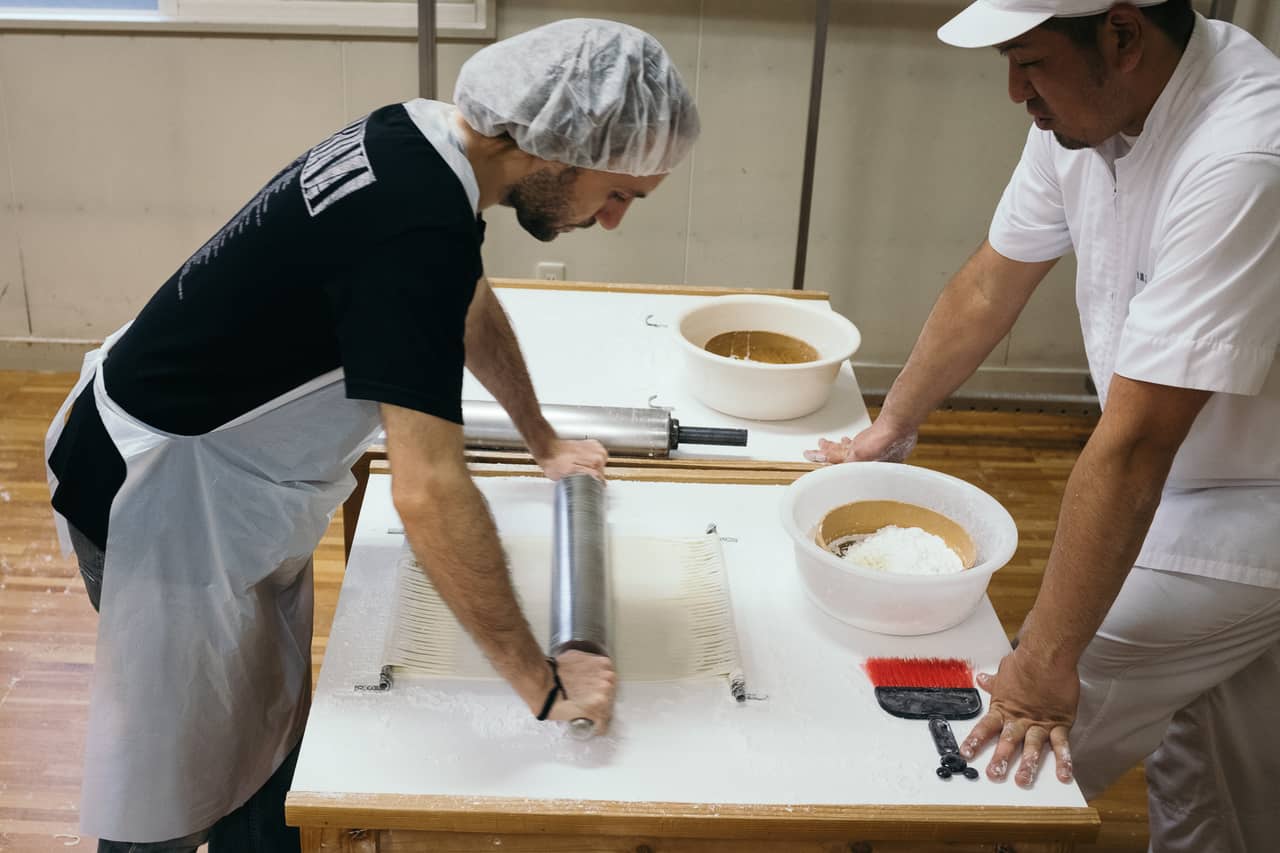
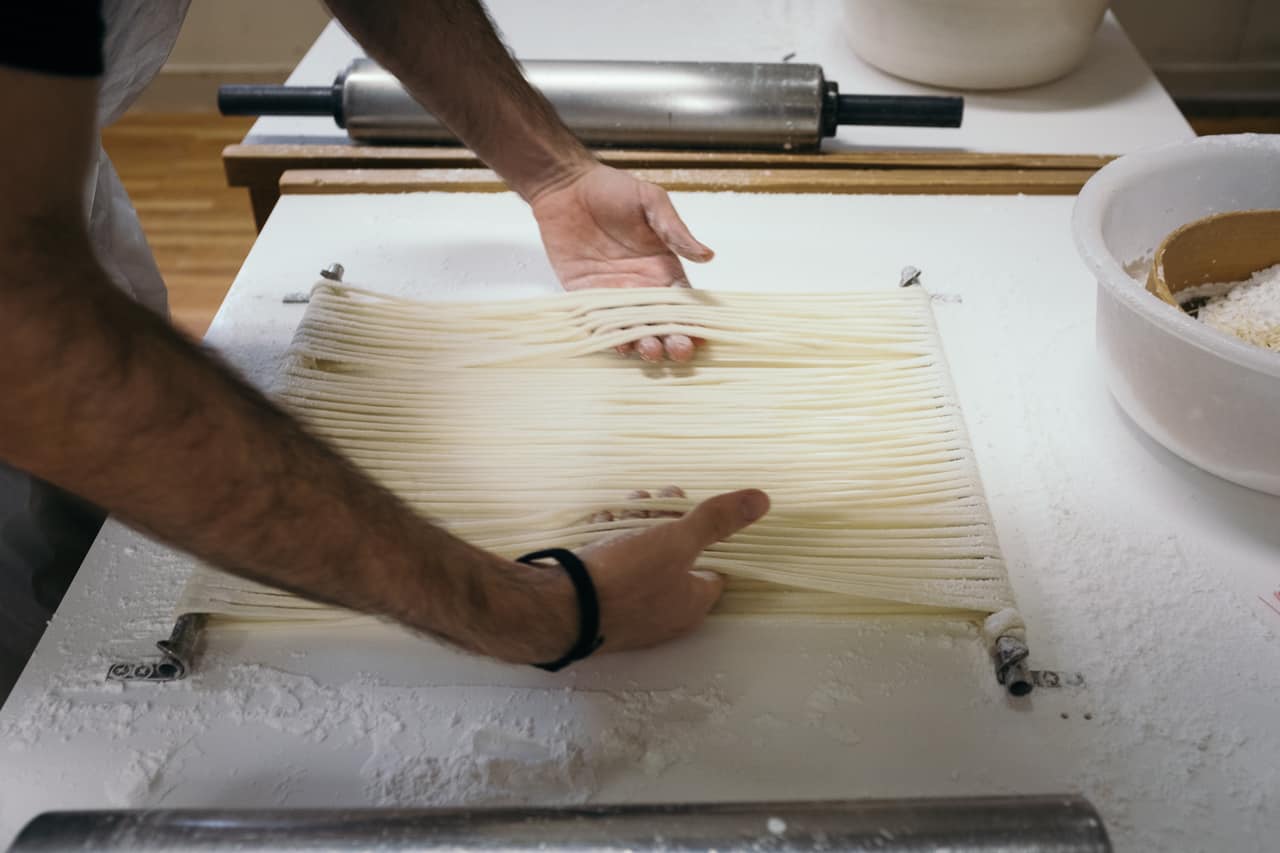
We then have to unstick the individual strands of udon once again and check that everything is arranged correctly. Little by little, I start to see the Inaniwa udon taking shape.
Step Three: Stretch the Udon
There is one final step to give the udon their shape. This last step is, to me, the most delicate but also the most rewarding one. The noodles are hung using one of the steel bars, ready to be stretched by gently caressing them with my hands. This is what will slowly give them their characteristic thinness. No sudden movements here; you have to be extra careful. If you try to rush, the noodles will break and fall off. Once the noodles reached the level of my knees, my teacher told me that we were done with this step. From here, we let the udon hang, and the last few centimeters of length will be gained naturally, with the weight of the steel bar slowly stretching them down.
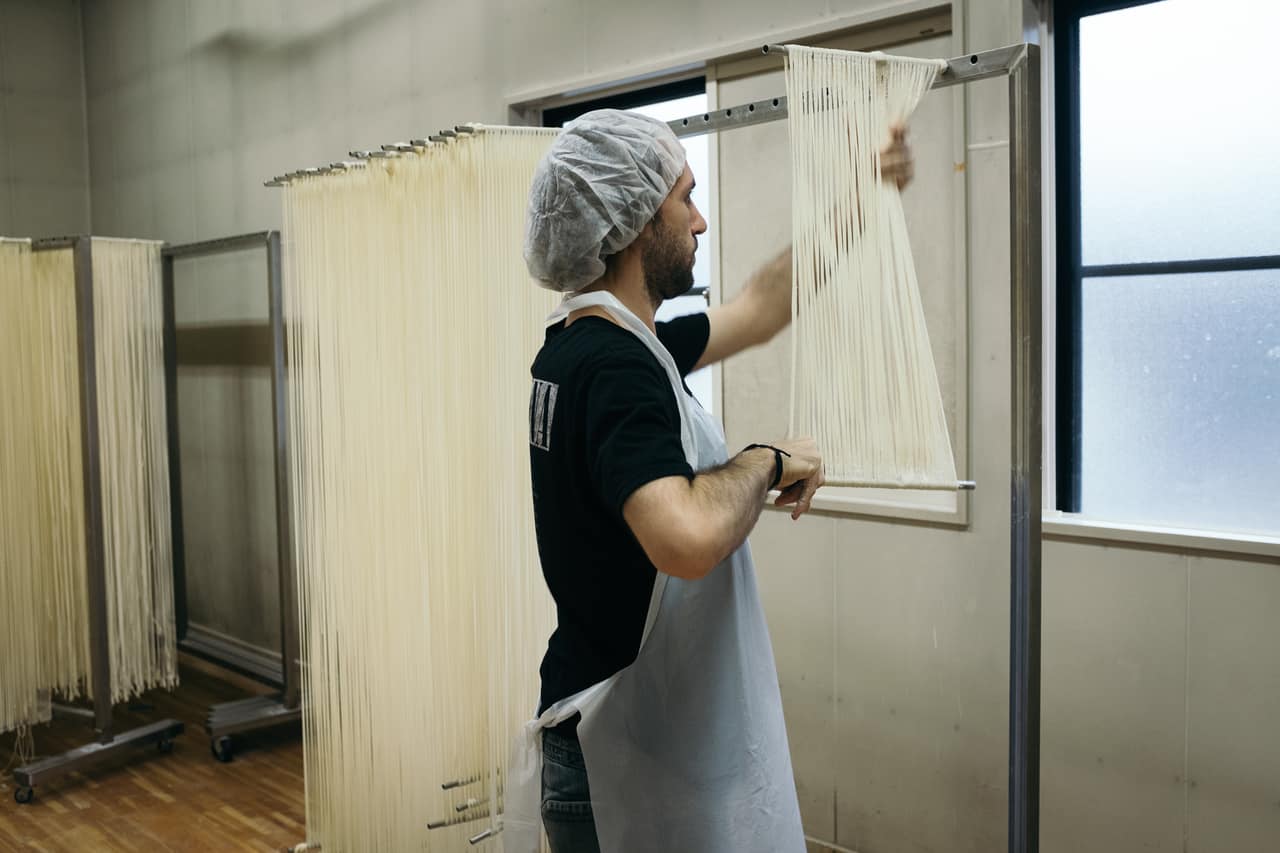
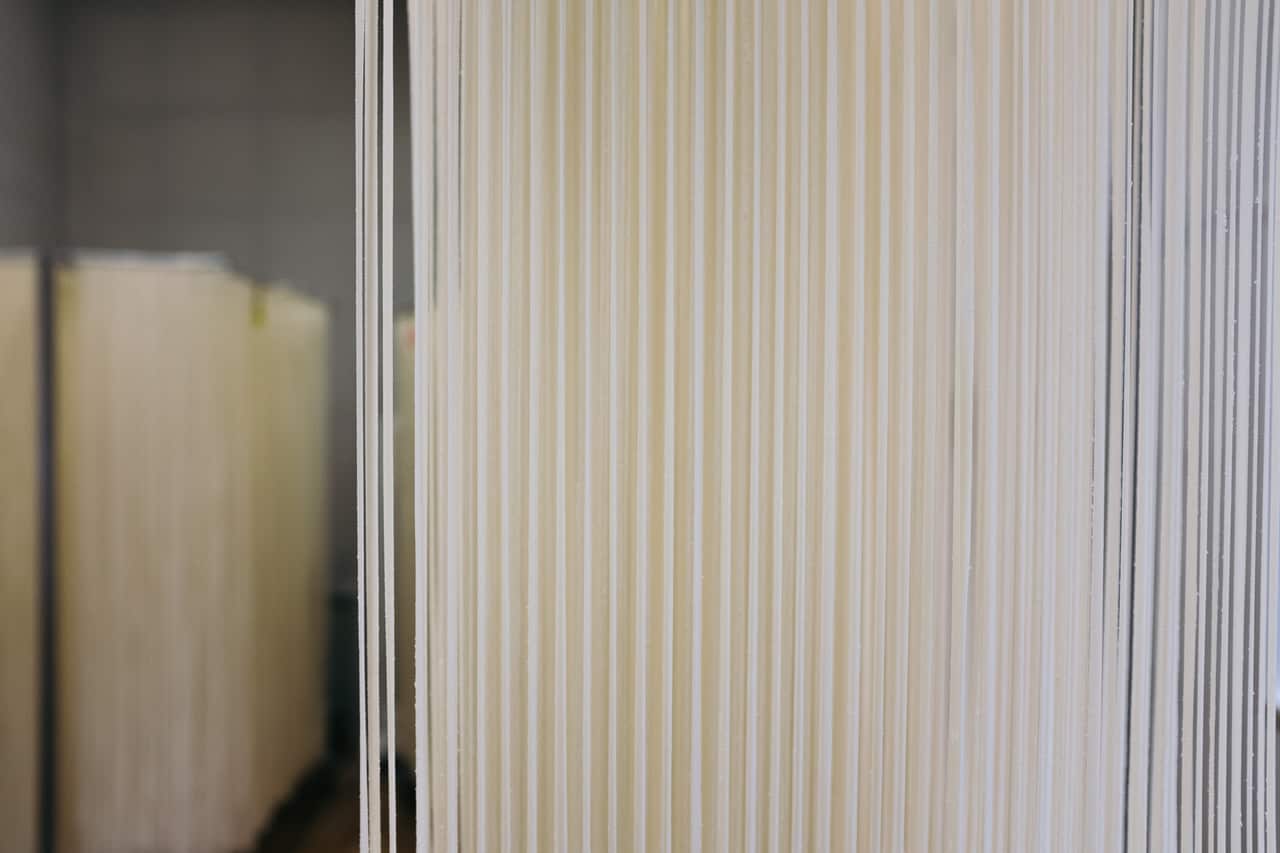
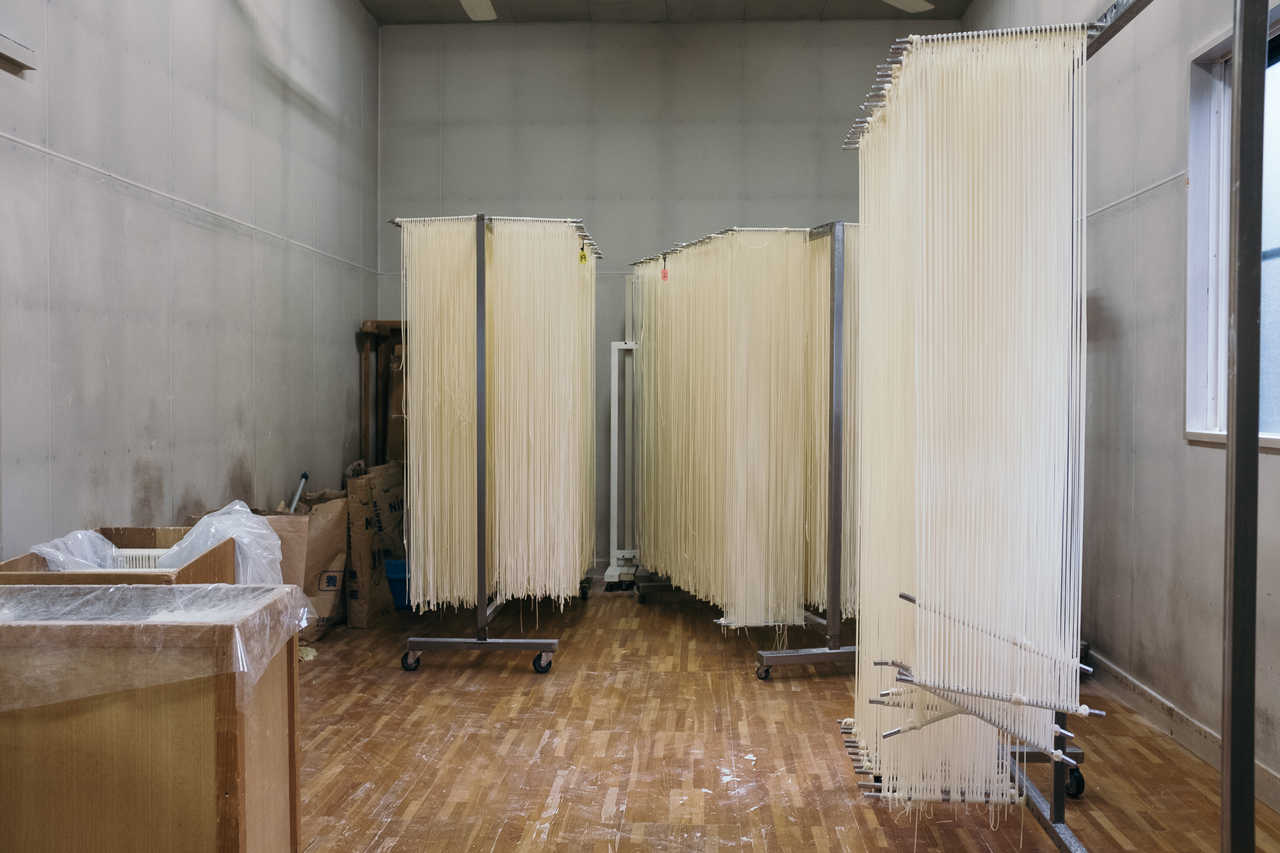
And that’s it. The udon, which has become as thin as possible during this process, will now be left to dry for two days. I get to fill a bag with scraps to bring back home. The udon I just made will be sent directly to where I am staying within a week.
The fascinating procedures I was taught during the workshop are the same ones used to produce all Inaniwa udon found in Japan. They are made by hand, following this same process passed on from generation to generation for centuries. Of course, the expert hands that have been practicing for years can repeat these gestures with impressive dexterity and fast pace. I watched in awe as my teacher performed these procedures with the speed and precision of a master. Even if you do not take part in a workshop, you can still have the opportunity to witness Sato Yosuke’s craftsmen working in the factory. Large windows into the factory allow anyone to watch the craftsmen making Inaniwa udon.
Eat Inaniwa Udon After Your Udon-making Workshop
After experiencing how to make Inaniwa udon, I was curious to finally taste this famous dish, popular all over Japan. And where could one find a better sample of Inaniwa udon than the restaurant of the family who created the recipe?

The Inaniwa udon lived up to its reputation, leaving a great sensation in my mouth. Smooth and soft, their thinness makes them a very different culinary experience from the other udon you can eat in Japan. There are two ways to enjoy Inaniwa udon. With the first one, you dip the noodles in a small bowl of sauce made from soy or sesame before eating them. This way, the noodles don’t sit too long in the sauce and become too soft by absorbing the liquid. It is also a great way to try various sauces during one meal. Served this way, it is a cold dish ideal during the summer.
You can also enjoy the noodles in a broth. The broth’s flavor is subtle and does not overpower the udon’s taste. This hot dish is ideal for warming up on a cold winter evening.
Getting to Sato Yosuke
To reach Sato Yosuke in Yuzawa, take a bus at the stop in front of Yuzawa Station. Get on the Ugo Kotsu bus towards Oyasu and stop at Inaniwa Naka machi, just next to the shop. This trip costs 660 yen.
| Inaniwa udon-making experience | |
|---|---|
| Reception Time | 11:00-13:00 *Reservation required by the day before |
| Required Time to complete | Approximately 60 minutes |
| Fee | Adults: 1,800 yen Children: 1,000 yen |
The udon-making workshop costs 1,800 yen for adults, and you can choose whether to pick up the udon you made at the shop a few days later or send them to your address. To give you an idea of the pricing, having the udon sent to Tokyo costs 970 yen.
Sponsored by Yuzawa city
Translation: Marion Pont





No Comments yet!